Sewing Basics for Beginners: Your First Five Skills
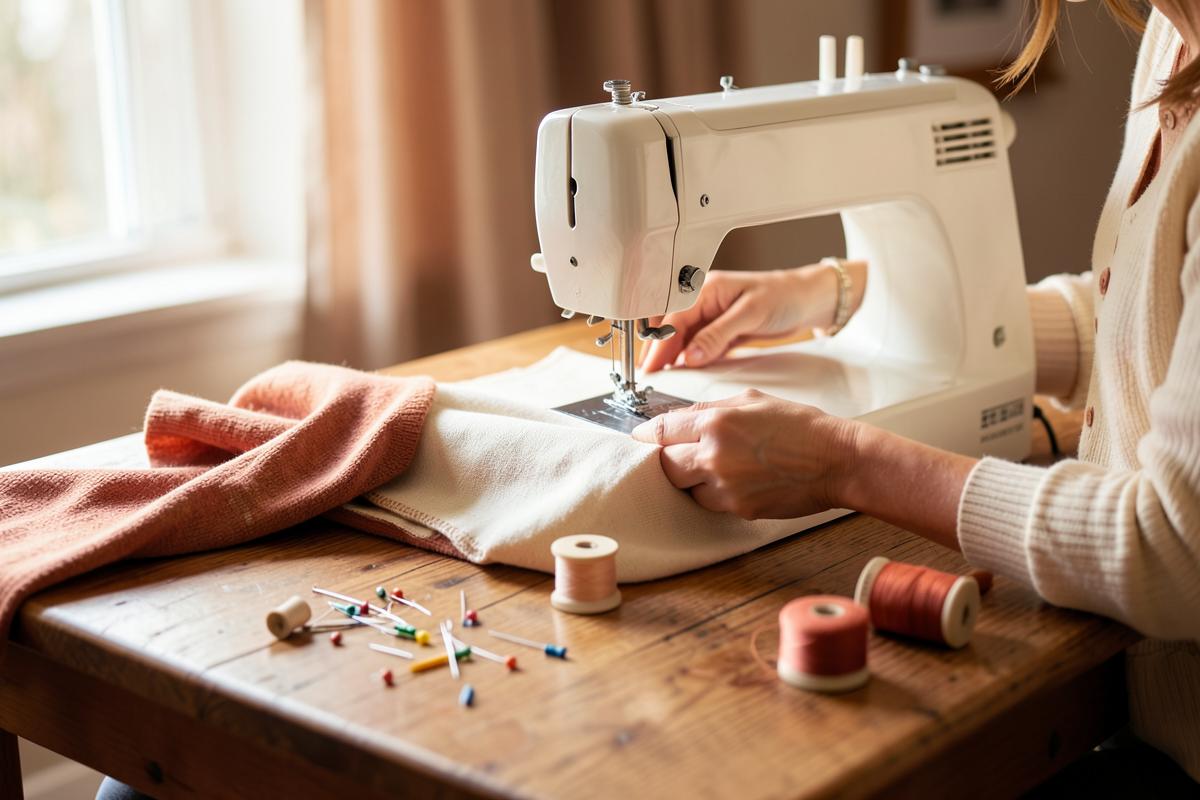
Most people who buy a sewing machine use it twice and then leave it in a closet. It usually isn't the sewing that stops them — it's the setup. Threading feels fiddly, the tension does something strange, and it seems easier to give up than to work out why.
The good news is that five small skills carry you through most everyday sewing: threading, a straight seam, a hem, a button, and a simple repair. Learn those and you can shorten curtains, take in a waistband, and stop throwing clothes away over a two-inch tear.
What you'll need
- A basic sewing machine (a borrowed one is fine)
- All-purpose polyester thread in a few neutral colours
- Universal needles, size 80/12
- Sharp fabric scissors kept only for fabric
- Pins or clips, a seam ripper, and a measuring tape
1. Thread the machine without panicking
Every machine has numbered arrows printed on the body showing the thread path. Follow them in order with the presser foot lifted — that's the detail most beginners miss. Raising the foot opens the tension discs so the thread can actually seat between them. Thread with the foot down and you'll get loose loops underneath and blame the machine.
- 1Lift the presser foot before you thread anything.
- 2Follow the printed arrows from the spool pin down to the needle.
- 3Thread the needle front to back, unless your manual says otherwise.
- 4Hold the top thread and turn the handwheel toward you once to pull the bobbin thread up.
- 5Pull both threads to the back, about four inches, before you start.
Tip: If your stitches look wrong, re-thread from scratch before adjusting tension. Nine times out of ten it's a threading problem, not a tension problem.
2. Sew a straight seam you can trust
Sewing straight isn't about steering the fabric. It's about picking a guide line on the needle plate — usually the 5/8 inch mark — lining the raw edge of your fabric up with it, and then watching that line instead of the needle. Feed the fabric gently and let the machine pull it through; pushing or tugging bends the needle and skews the stitch.
Practise on two scraps of cotton before you touch a real project. Ten minutes of straight lines on scrap fabric is worth more than an hour of unpicking something you cared about.
- 1Pin the two pieces right sides together, pins at right angles to the edge.
- 2Line the raw edge up with the 5/8 inch guide.
- 3Backstitch three or four stitches, sew forward, then backstitch at the end.
- 4Press the seam open with an iron — this is what makes homemade look professional.
3. Hem trousers so they look shop-bought
A hem is just a folded edge sewn down. The trick is measuring it while the trousers are being worn, with the shoes that will normally go with them. Pin the fold at the length you want, then take them off and check both legs match before cutting anything.
- 1Turn the trouser inside out and fold the hem up to the length you marked.
- 2Press the fold flat, then fold the raw edge under by half an inch and press again.
- 3Pin all the way round, then sew close to the inner folded edge.
- 4For jeans, keep the original stitched hem: cut above it, then sew it back on so the worn edge shows.
Tip: Match your thread to the darkest colour in the fabric, not the lightest. Dark thread disappears; light thread announces itself.
4. Sew on a button in four minutes
No machine needed. Thread a hand needle with a double length of thread, knot the ends together, and come up from underneath so the knot hides behind the fabric. Sew through the holes six to eight times, then wrap the thread three times around the stitches under the button to make a small shank. That shank is what lets the button sit properly through a buttonhole instead of straining the fabric.
5. Fix a split seam or small tear
A split seam is the easiest repair there is: turn the garment inside out, line the edges back up, and sew along the original seam line, starting an inch before the split and finishing an inch past it. A tear in the middle of the fabric needs backing — iron a piece of fusible interfacing behind it, then sew rows of small zigzag stitches across the tear until it's held.
Common mistakes to avoid
- Cutting fabric with paper scissors — they crush the fibres instead of slicing them.
- Skipping the iron. Pressing each seam as you go is the single biggest difference between homemade and handmade.
- Using a bent or blunt needle. Change it every eight hours of sewing; they cost pennies.
- Pulling the fabric through. Let the feed dogs do the work.
Want someone to show you?
Sewing is far easier to learn with someone watching your hands. Kindlio teachers will sit with you over video while you thread your own machine.


