Phone Photography: Ten Habits That Instantly Improve Your Photos
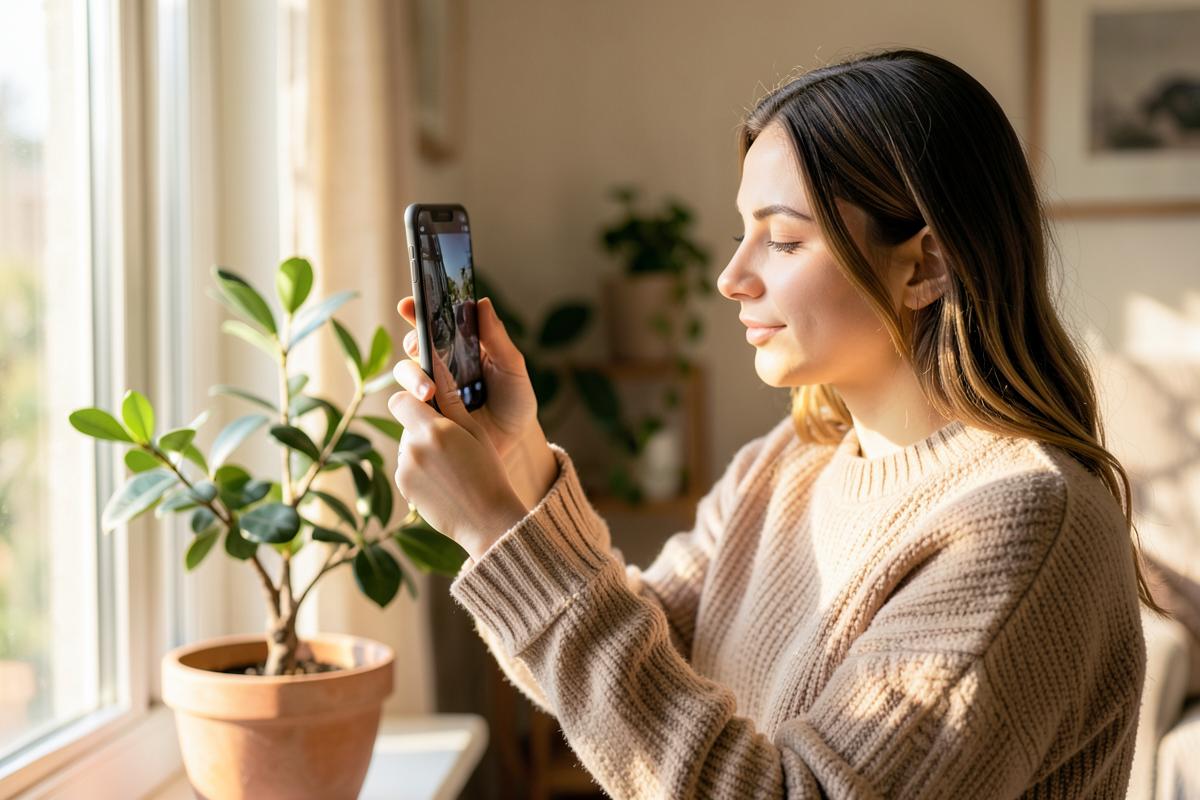
The camera in your pocket is genuinely good. What separates a striking photo from a forgettable one is almost never the phone — it's where the light comes from, where you stand, and what you leave out of the frame.
These ten habits cost nothing and work on any phone made in the last five years.
What you'll need
- Your phone
- A clean lens (a shirt sleeve will do)
- Gridlines turned on in your camera settings
- A free editing app such as Snapseed or your phone's built-in editor
Start with the light
Wipe the lens first — pocket smudges are the reason so many photos look hazy. Then look at where your light is coming from. Soft light from a window on your subject's side is flattering for people and food alike. Overhead midday sun creates harsh shadows under eyes; shade or an overcast sky is far kinder.
The hour after sunrise and the hour before sunset make almost anything look good. If you can choose when to shoot, choose then.
Move your feet before you zoom
Digital zoom crops the image and throws away detail. Walking two steps closer keeps every pixel. Physically moving also changes your angle, which is usually what the photo actually needed.
- 1Shoot children and pets from their eye level, not from standing height.
- 2Shoot food from a 45 degree angle, or straight down for flat dishes.
- 3For a taller-looking portrait, hold the phone at chest height, not above the head.
Set focus and exposure by hand
Tap the screen where the important part of the image is — your phone locks focus there. Then slide your finger up or down to brighten or darken. Most phone photos are slightly overexposed by default; pulling the exposure down a touch protects highlights and gives you richer colour to work with when editing.
Tip: Press and hold to lock focus and exposure. Now you can recompose the shot without the phone re-guessing.
Use the grid and leave space
Turn on gridlines and place your subject on one of the lines or where two lines cross, rather than dead centre. Leave a little space in the direction someone is looking or walking. It reads as a decision rather than an accident.
Then look at the edges of the frame before you press the button. A bin, a stray hand, a bright doorway — moving six inches usually removes it.
Edit with restraint
- 1Straighten and crop first — a level horizon fixes half of what feels off.
- 2Lift shadows slightly, pull highlights down slightly.
- 3Add a small amount of contrast, then a touch of warmth.
- 4Leave saturation almost alone; oversaturated skin tones are the clearest sign of over-editing.
Practise one subject for a week
Photograph the same thing — a mug, a doorway, your dog — once a day for a week from different angles and at different times of day. Nothing teaches you light faster, because the subject stops being the variable.
Common mistakes to avoid
- Shooting with a bright window behind your subject, which turns them into a silhouette.
- Using the flash indoors when a lamp and a slower moment would do.
- Zooming instead of walking.
- Editing on maximum brightness and then wondering why it looks dark on someone else's screen.
Want someone to show you?
Show your photos to someone who takes them for a living. Kindlio photographers run short video critiques that shortcut months of guessing.


